Today I was doing a workshop with the kids in my daughters kindergarten. It is a Montessori Kindergarten and they have an experiments day where they learn about physics by trying things out. So I told them about Squishy Circuits and asked if there is interest in trying that with the kids and soon enough I was asked if I could just do that. And that’s how i ended up doing a workshop with them – building an electric circuit.
I was impressed on how the children instantly understood and were able to fully reproduce what I showed them, some already trying out own ‘circuit designs’. But what I really enjoyed was the overwhelming happiness the kids showed about their experiments and how happy they got once the LEDs started to lighten up.
There were pictures taken but I need to clear with the kids parents first if it is OK to post them, until then here some shots of the tools i brought.
A box with LEDs:

A windmill with a solar motor that runs with low current/low voltage

A piezo buzzer. That one was the kids favourite 🙂

A bunch of motors. Unfortunately they do not work for squishy circuits as they require too much voltage.

Cables with switches.

Cables

More cables 🙂

A battery box for three AA batteries

One box per child

The most important part – the dough. The green one is insulating while the yellow one is conductive.

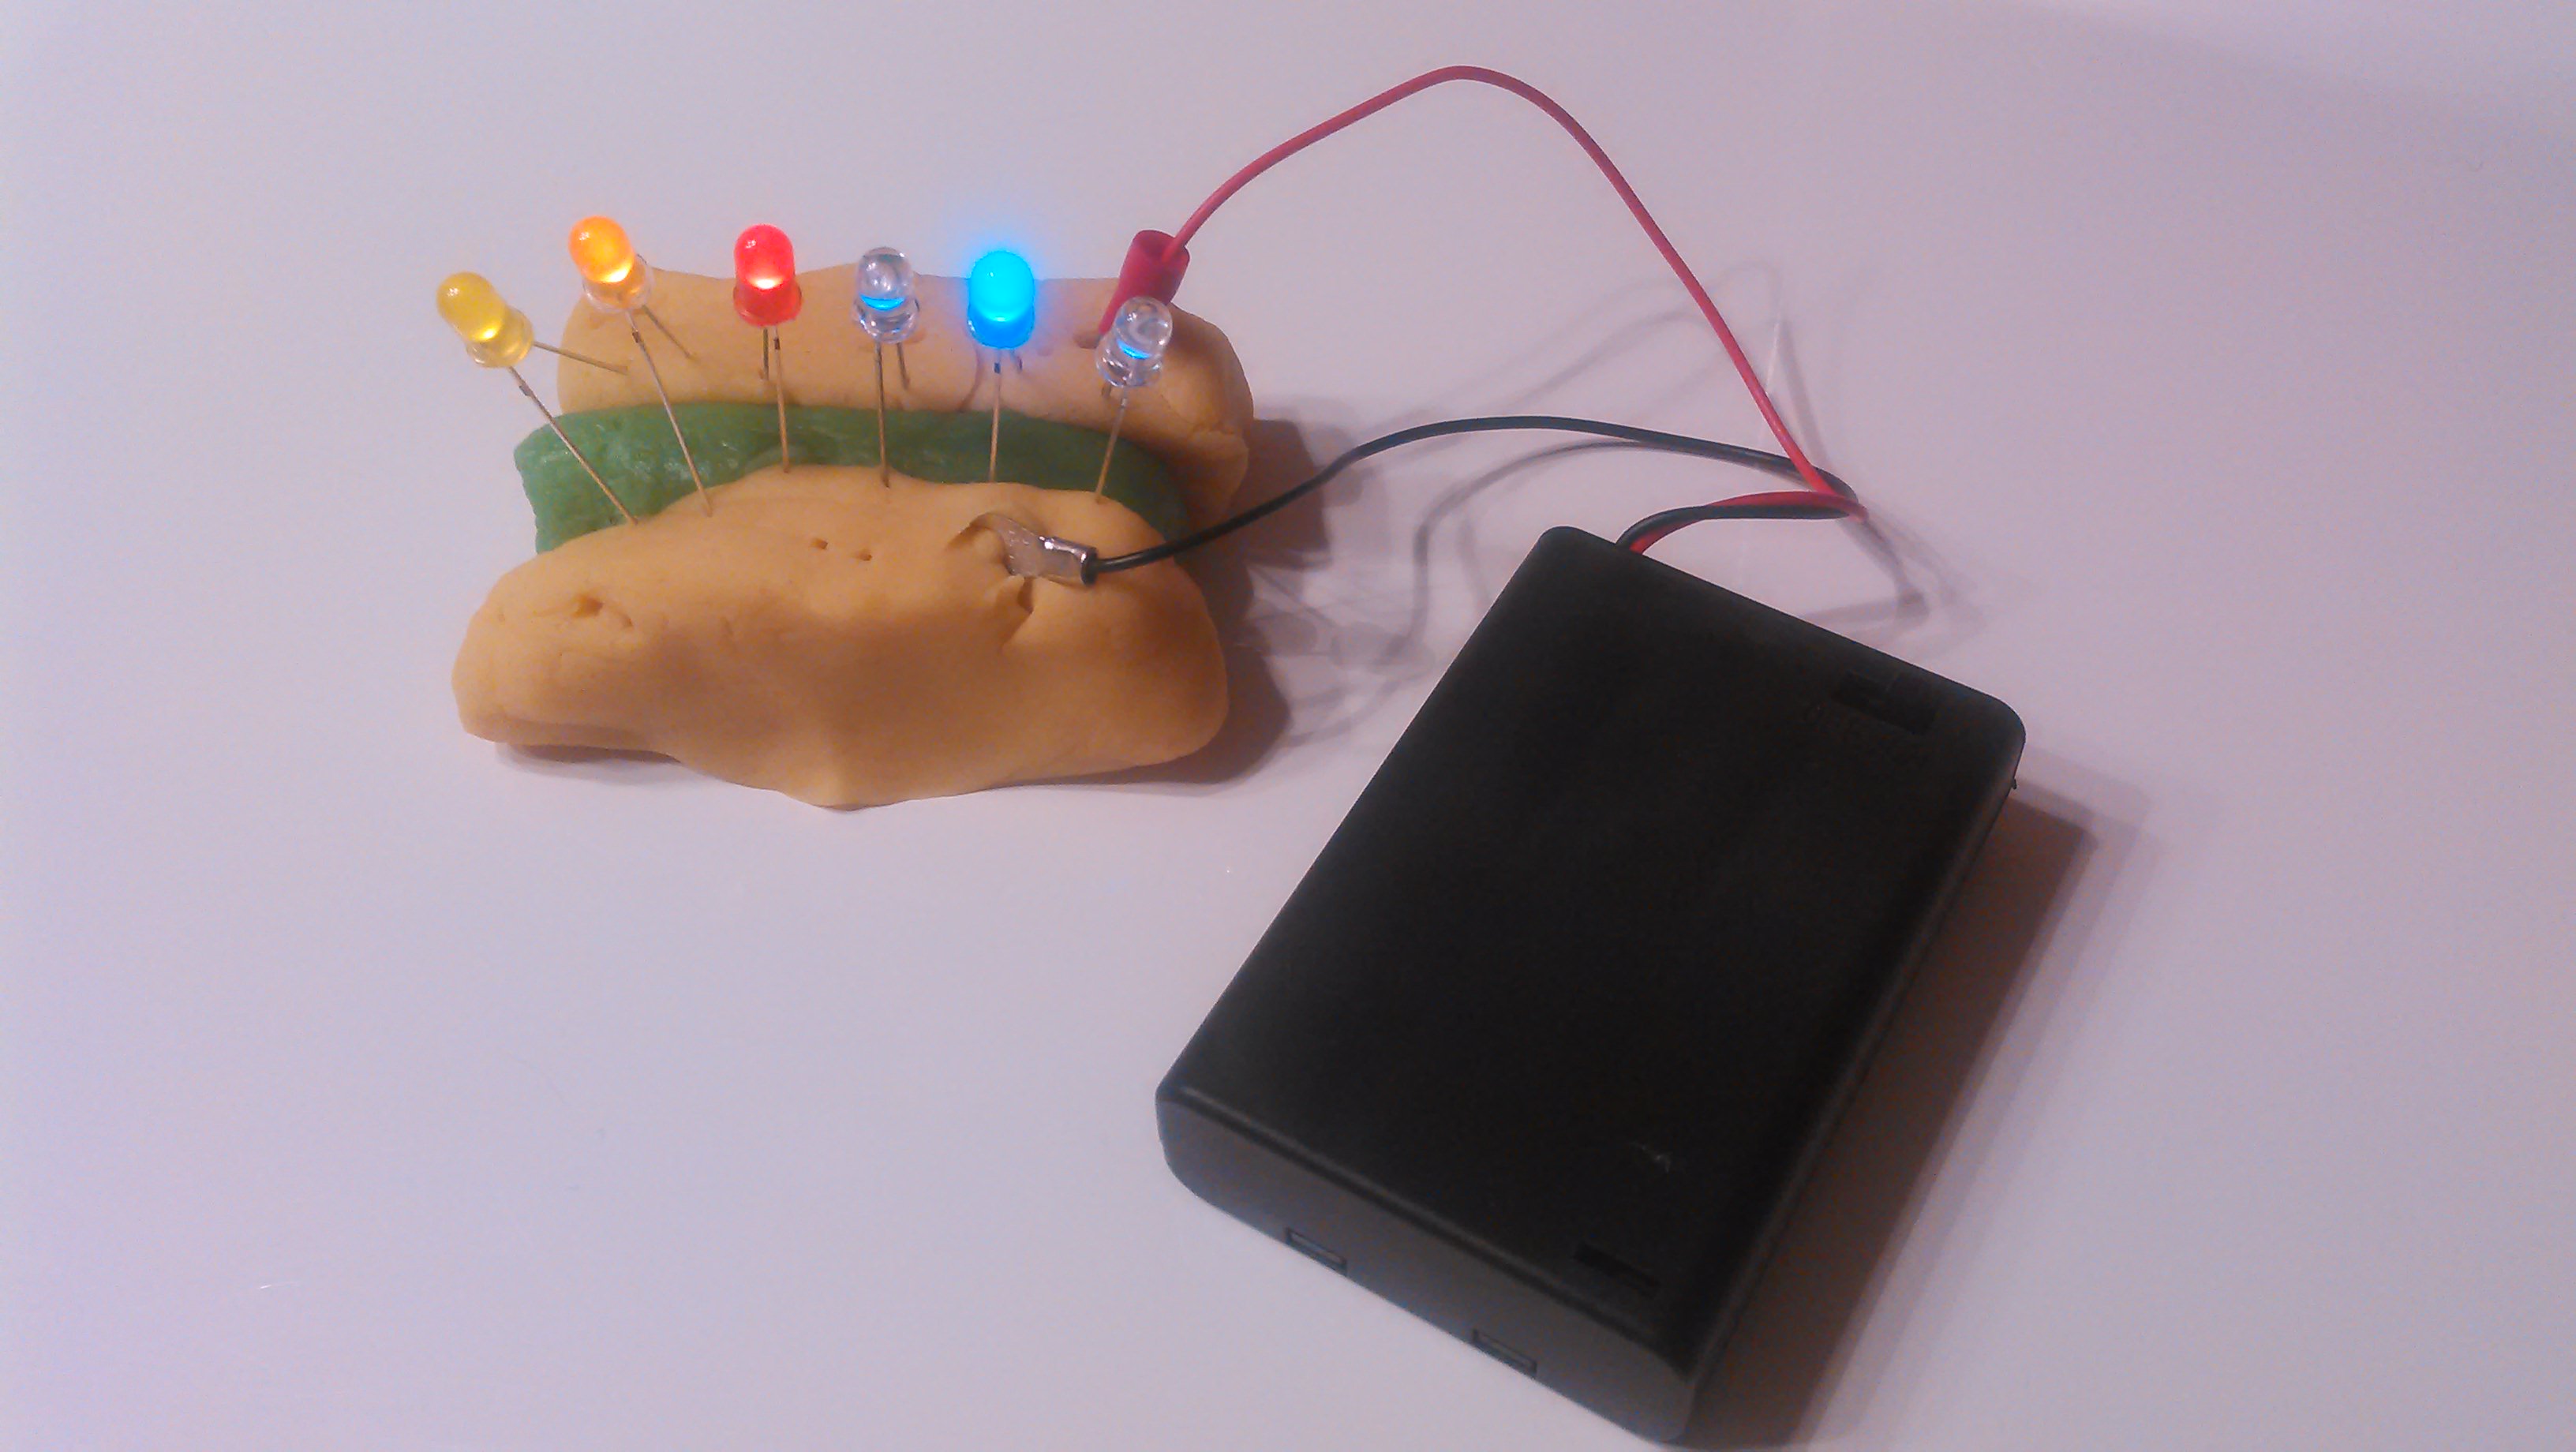
a test circuit to see if everything works as expected. The LEDs which are less bright are purple and pink ones, they are not low current LEDs which is clearly visible 😉
testing the windmill


